Download files from website via Powershell

By | August 11, 2023

A simple method I like to use when I want to quickly run a powershell script to download a file from a webserver. I use this when endpoints are not on an internal network so a network share is not always available, but since I am usually remotely calling the powershell script, Internet access is established.

The commandlet I use is Invoke-RestMethod. I provide the source url for the file on a webserver to download and the destination, and I’m done. Extremely simple and extremely effective. There are so many ways to do this, but this is the method I personally use the most.

The below example is what I have used to download the CleanZoom utility from Zoom that will remove any installed versions of Zoom on an endpoint, save the file in a temporary directory and then execute the utility.

Scareware is not dead

By | June 19, 2023

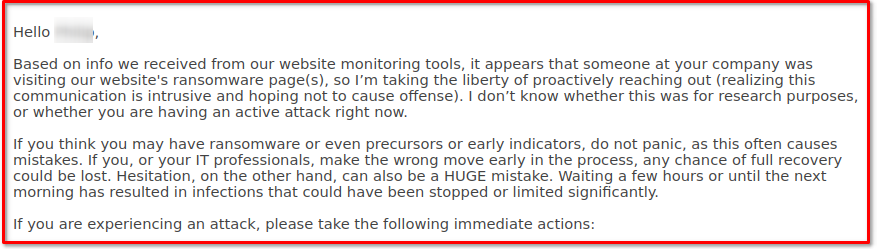
An email was forwarded to me that came from a security MSP trying to stir up business with someone at the company I work at. Their quasi-scareware email was funny, but a horrible way for us to take seriously. Only thing missing was a sentence asking for bitcoin.

I remember several years ago, companies were scanning their web server logs and doing DNS look-ups to find out what companies visited their website. Then the Spam and cold call of sales would begin. That tactic finally died off……mostly. The below email was not sent to our company from a DNS look-up scrape (I know, as our external IP’s at work can barely can tell you what state we are in), it was pure spam. Probably someone going through Linkedin and such finding contacts.

If you send an email that begins like this, we cannot take you seriously.

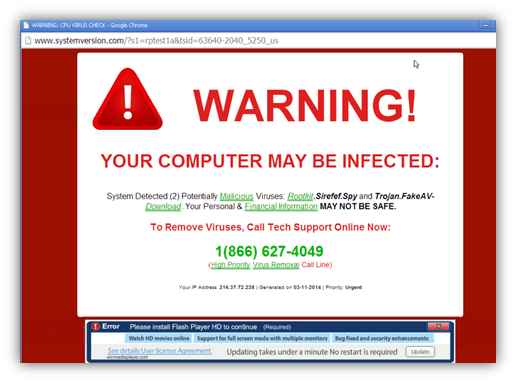
Ah, remembering the good ole days, when the scareware looked like an actual alert:

Aloha!

By | April 14, 2023

Not a good week for NCR Aloha POS hosted solutions. They have been dealing with a BlackCat ransomware attack as reported by articles at:

BleepingComputer – NCR suffers Aloha POS outage after BlackCat ransomware attack.

DataBreaches.net – A short-lived BlackCat listing suggests NCR’s customers’ networks were accessed

Securityweek.com – Payments Giant NCR Hit by Ransomware

CPO Magazine – Financial Services Firm NCR Hit by Ransomware Attack, Disrupting Aloha and Back Office Products

CybersecurityDive – NCR restores more services following ransomware attack

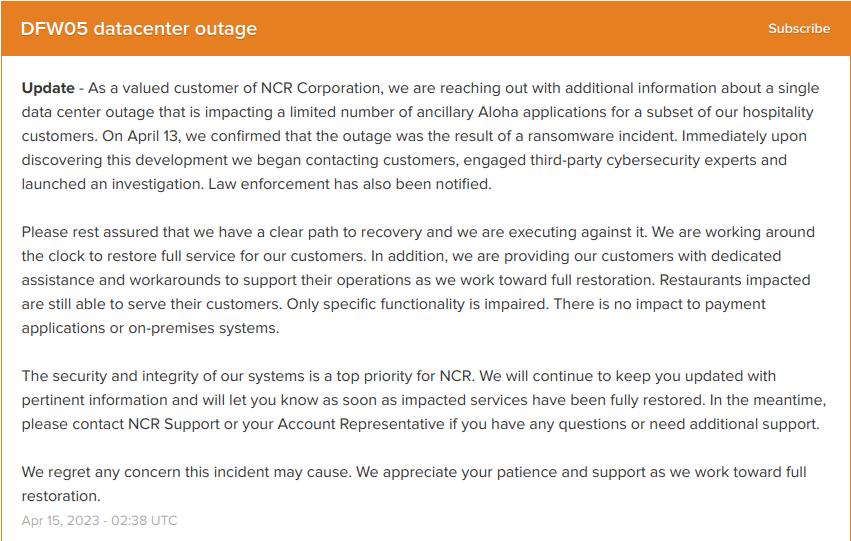
The below screenshot was taken from https://status.aloha.ncr.com

Install a DHCP Server

By | March 6, 2023

There are times when you need to run your own DHCP server. For me, this was needed to add to my laptop so I can program IP security cameras with my USB Ethernet adapter attached. The software that typically comes with security cameras is total crap with a bad Chinese translation layered on top and is usually for Windows only. It is just easier to connect the cameras to a DHCP network and login than use some clunky badly written Windows-based application. Here is how I installed and configured a DHCP server for my laptop.

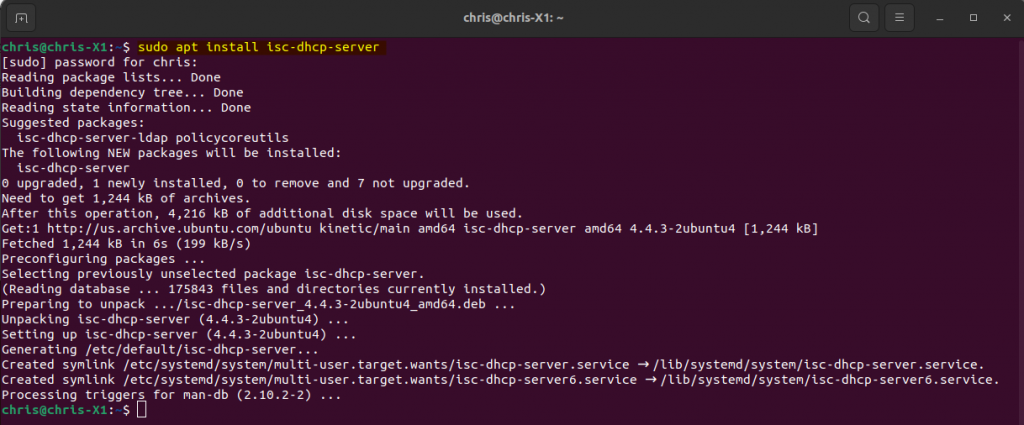
Open a shell prompt and execute the command: sudo apt install isc-dhcp-server.

sudo apt install isc-dhcp-server.

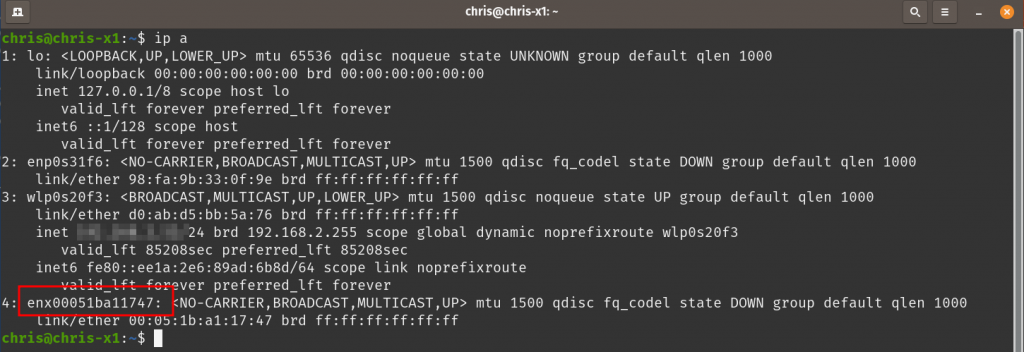
Now, I run ip a to list all the network adapters and names. I found my USB adapter easily.

Use, “ip a”, to list the network adapters and info.

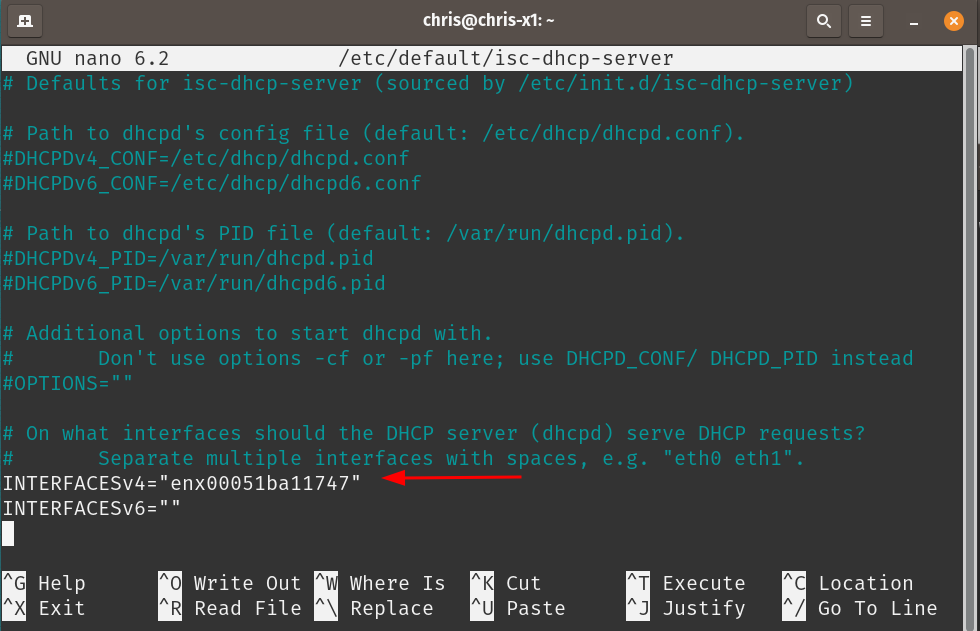
Open the /etc/default/isc-dhcp-server config file and add the interface name of the USB adapter. This defines the network adapter that will be dishing out DHCP IP addresses.

/etc/default/isc-dhcp-server config file.

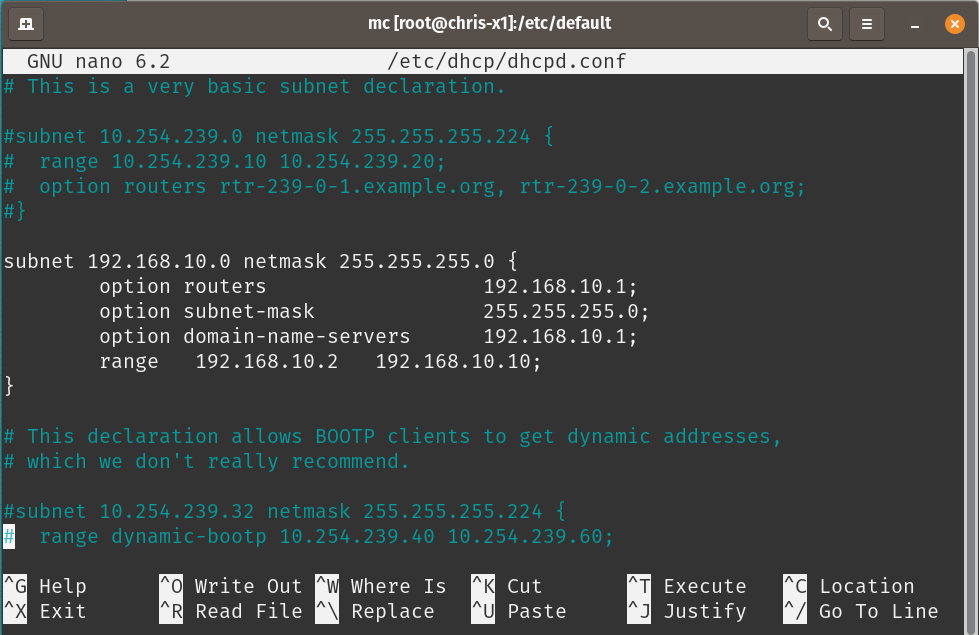
Now we set an IP range for the DHCP server. I usually keep this really small between 10 and 20 IP addresses for convenience. I usually set the starting IP address one octet higher than the IP I set on the USB adapter. Below, you can see I entered, “192.168.10.1” as the IP address of my USB network adapter, then the DHCP range I set at .2 through .10. Set the subnet mask and since this does not need DNS, I just enter a bogus address of the laptop for domain-name-servers.

Set the network adapter info and IP range here.

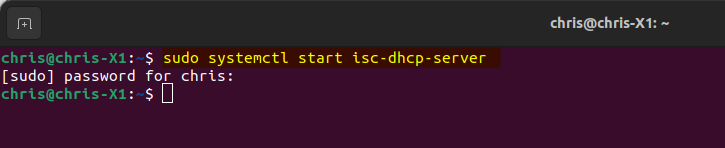
Restart the DHCP server service.

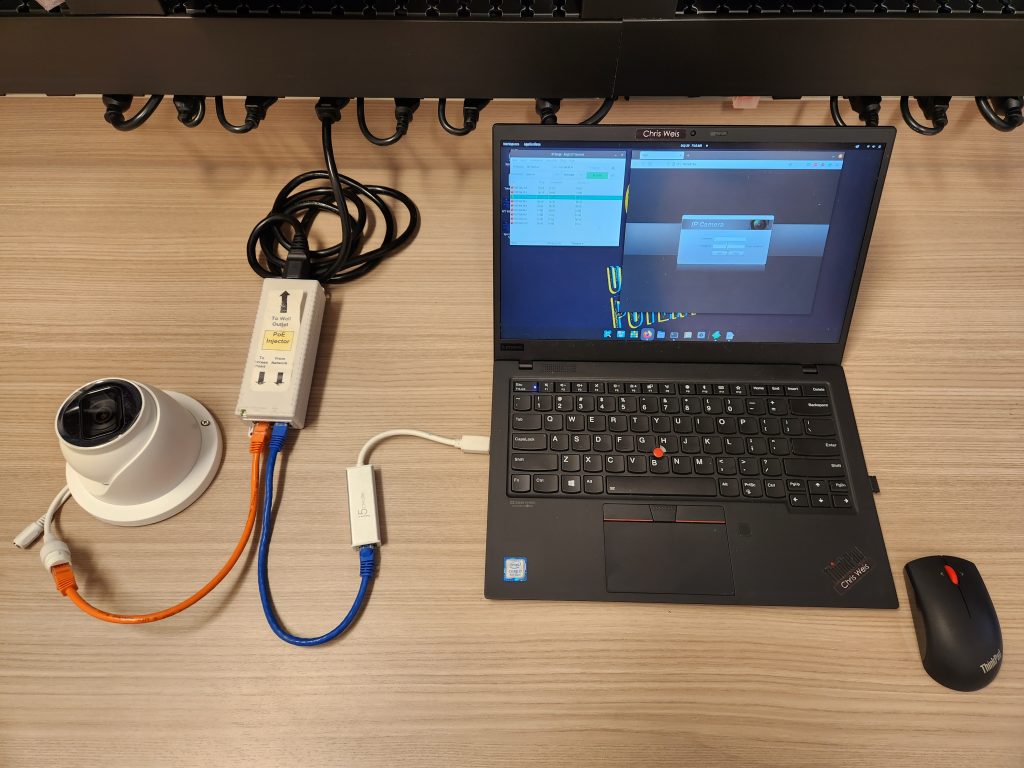
Now I connect the IP POE camera to an injector which then connects to my USB adapter.

Laptop with USB network adapter, POE injector, and camera connected.

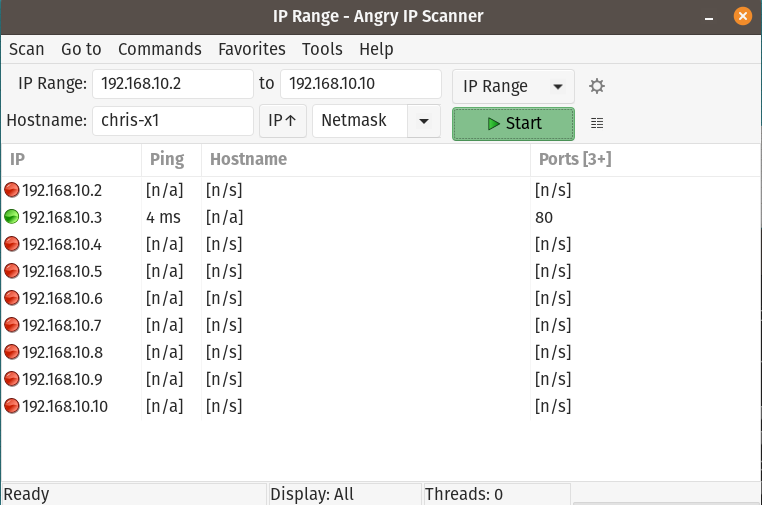
I use Angry IP Scanner to search and find the camera.

Enter the IP range in Angry IP and tell it to scan.

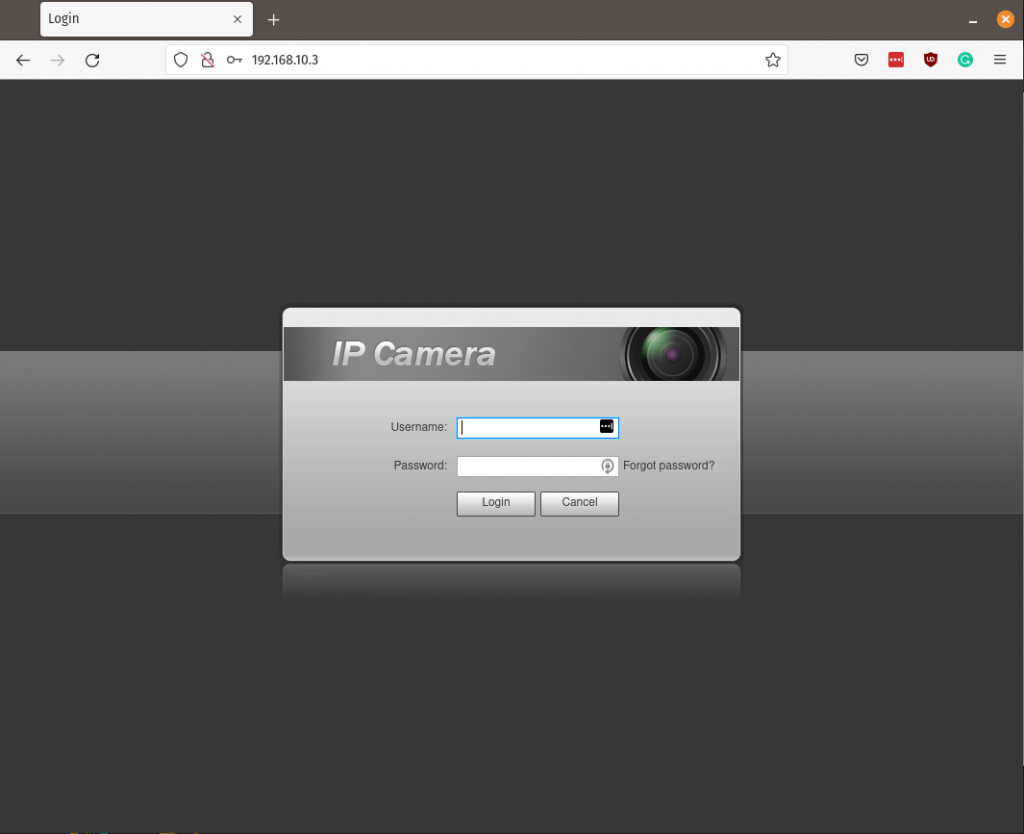
I now navigate to the IP address found and am able to sign in and configure the IP camera.

Camera responding at IP addressed issued from the DHCP server.

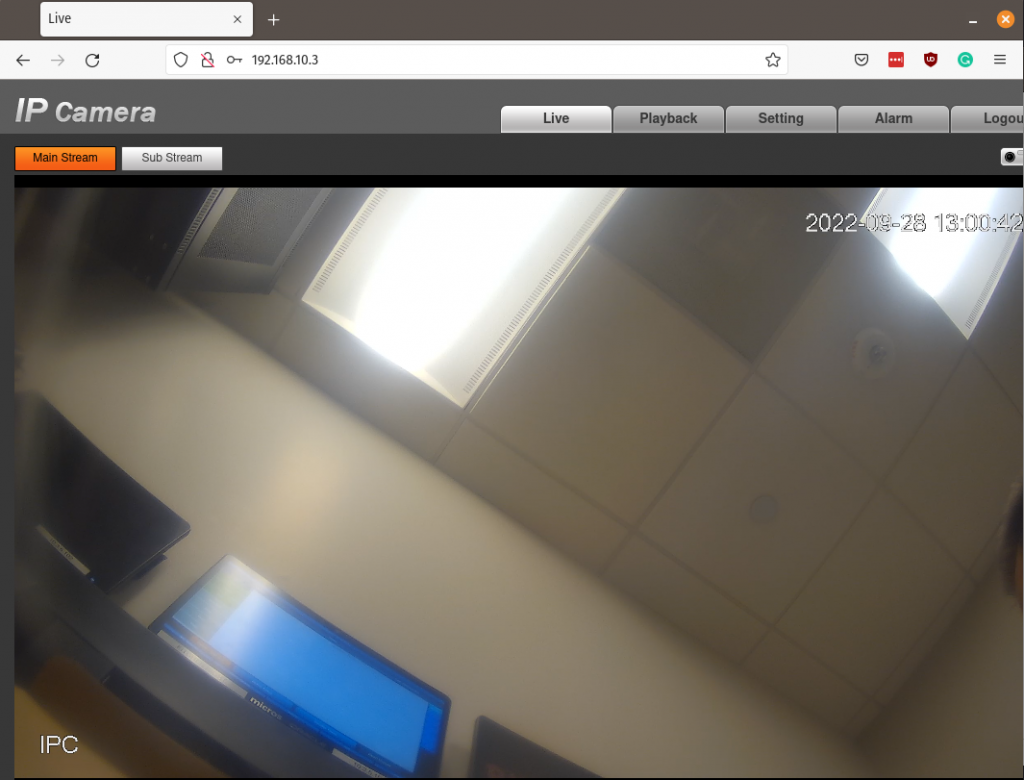
After configuration, live image working.

Successfully configured camera.