There are times when you need to run your own DHCP server. For me, this was needed to add to my laptop so I can program IP security cameras with my USB Ethernet adapter attached. The software that typically comes with security cameras is total crap with a bad Chinese translation layered on top and is usually for Windows only. It is just easier to connect the cameras to a DHCP network and login than use some clunky badly written Windows-based application. Here is how I installed and configured a DHCP server for my laptop.
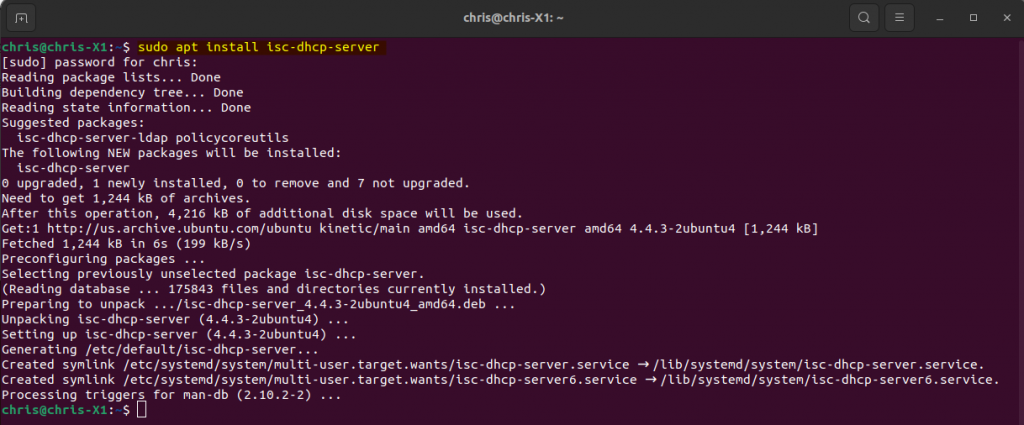
Open a shell prompt and execute the command: sudo apt install isc-dhcp-server.
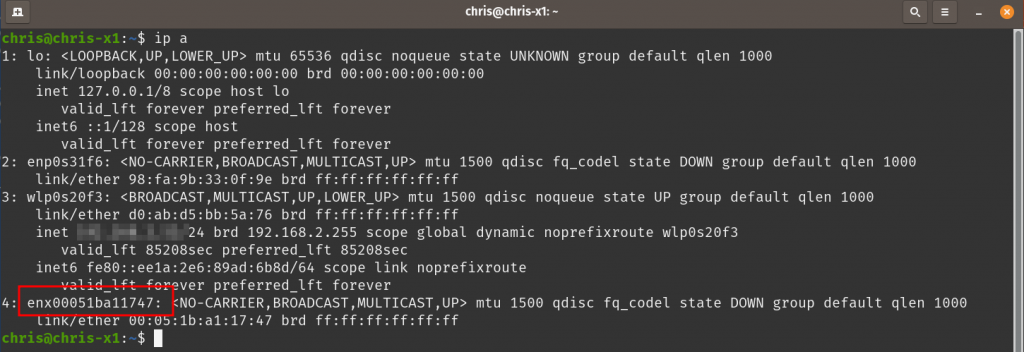
Now, I run ip a to list all the network adapters and names. I found my USB adapter easily.
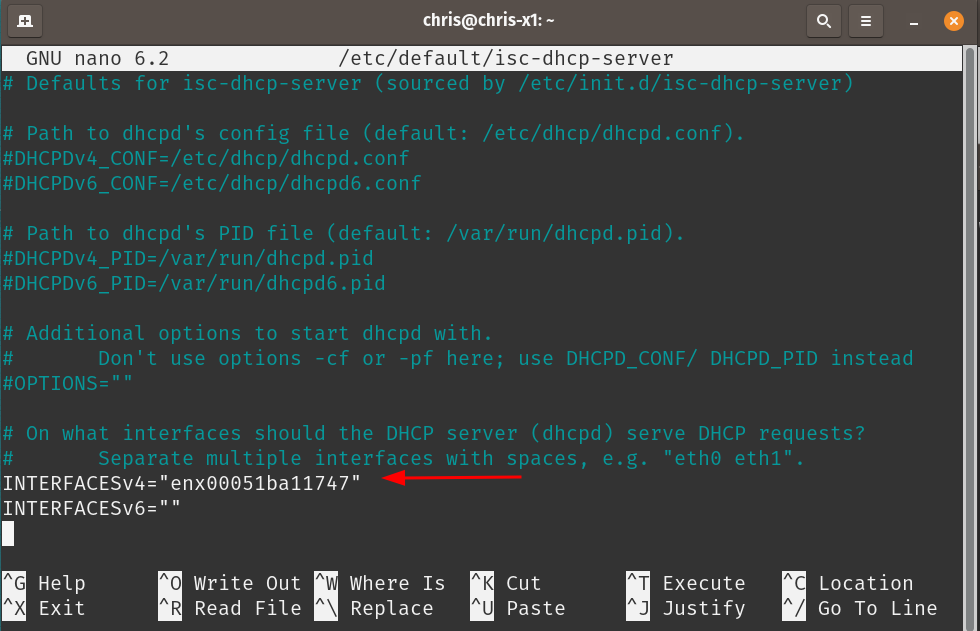
Open the /etc/default/isc-dhcp-server config file and add the interface name of the USB adapter. This defines the network adapter that will be dishing out DHCP IP addresses.
Now we set an IP range for the DHCP server. I usually keep this really small between 10 and 20 IP addresses for convenience. I usually set the starting IP address one octet higher than the IP I set on the USB adapter. Below, you can see I entered, “192.168.10.1” as the IP address of my USB network adapter, then the DHCP range I set at .2 through .10. Set the subnet mask and since this does not need DNS, I just enter a bogus address of the laptop for domain-name-servers.
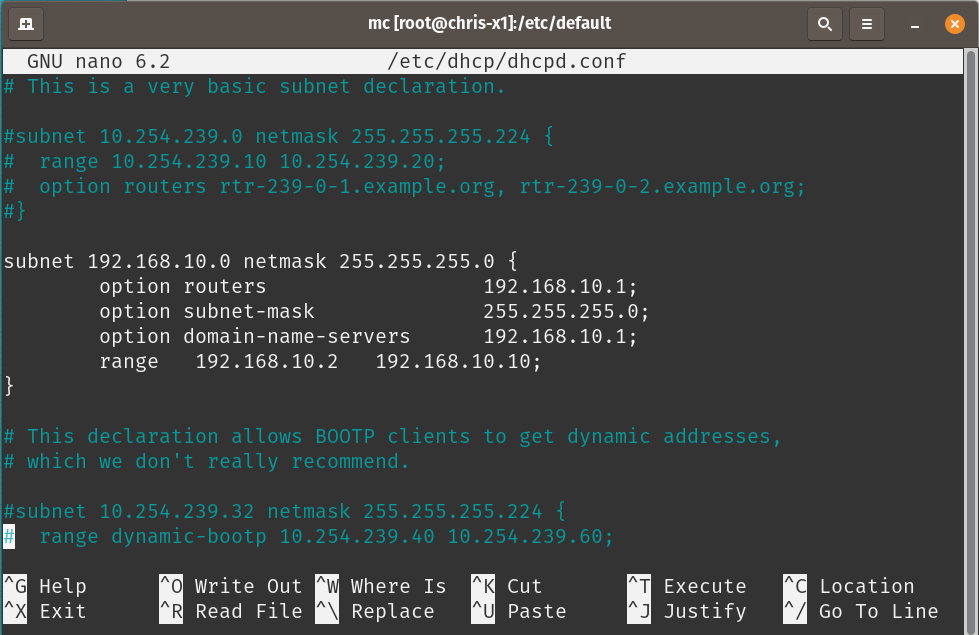
Restart the DHCP server service.

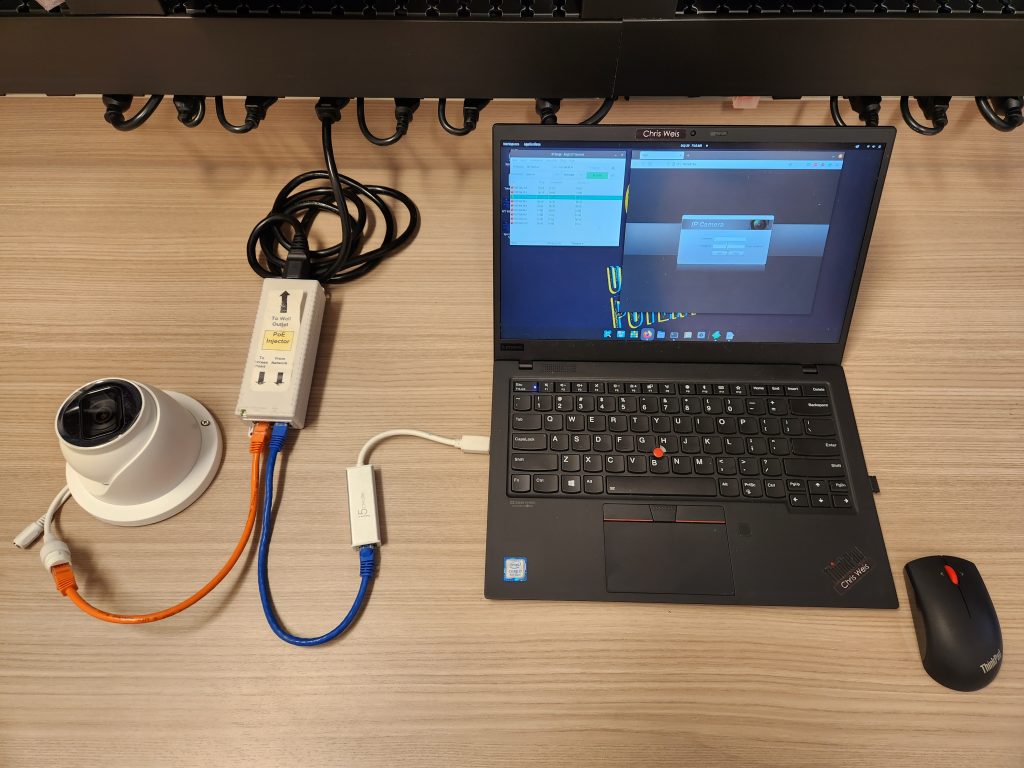
Now I connect the IP POE camera to an injector which then connects to my USB adapter.
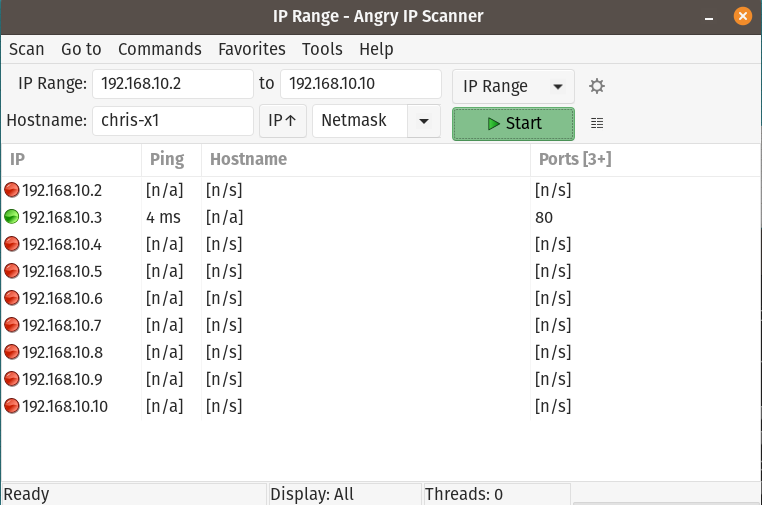
I use Angry IP Scanner to search and find the camera.
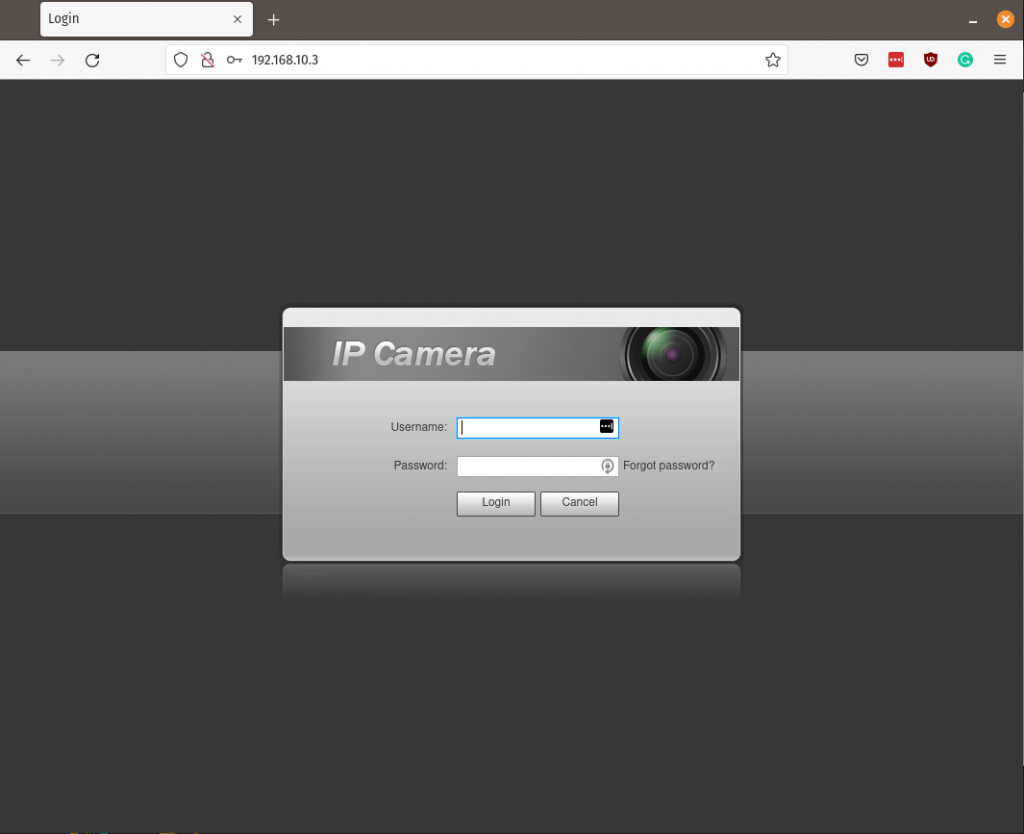
I now navigate to the IP address found and am able to sign in and configure the IP camera.
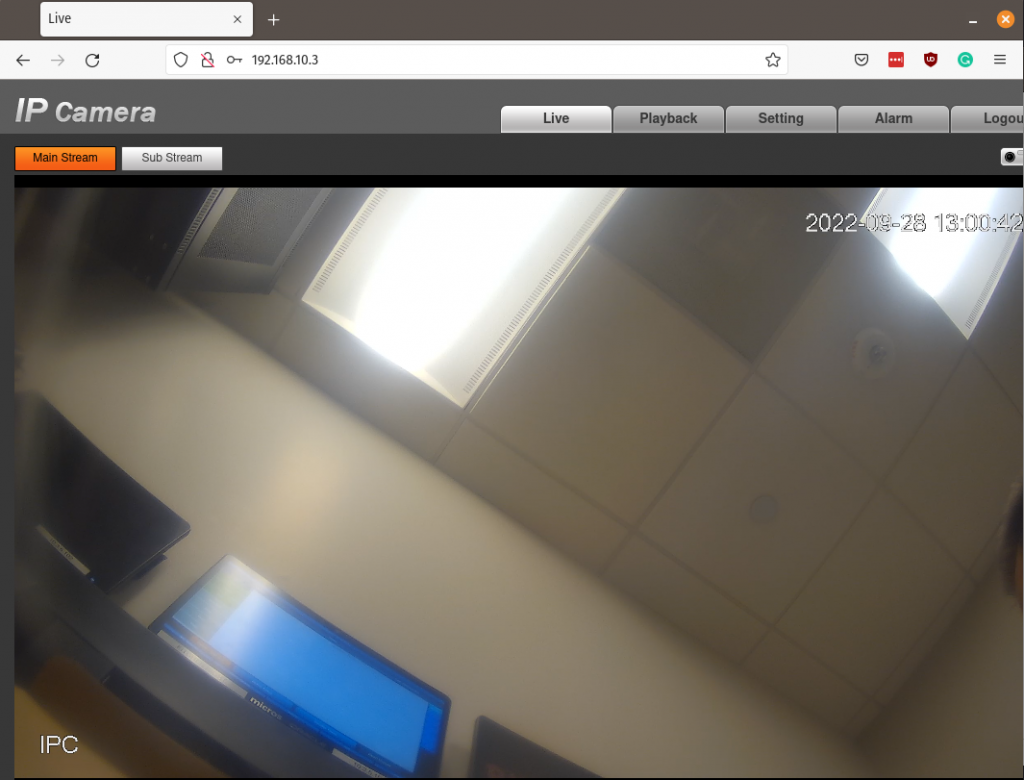
After configuration, live image working.
