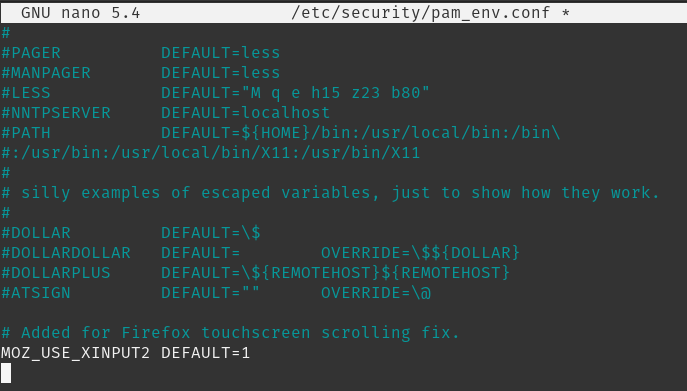
When using Firefox on a touchscreen enabled laptop, I noticed that scrolling only worked using the scroll bar and I could not zoom or scroll like is done with mobile devices. I discovered a fix for this by editing the /etc/security/pam_env.conf file and adding a new environment variable.
MOZ_USE_XINPUT2 DEFAULT=1
Save, then reboot. Zoom and scrolling now work as expected on the laptop touchscreen.
I have been wanting to stand up a FOG Imaging server for quite some time on my home network. I have an Asus RT-AC86U router at home with the AsusWRT-Merlin firmware installed. If you have an Asus router, the Merlin firmware is a must regardless since an improved version of the default firmware the Asus routers come with.
To learn how to install a FOG Server VM, I follow the tutorials on the Practical IT Youtube channel. These videos have been my favorite reference for setting up and using FOG.
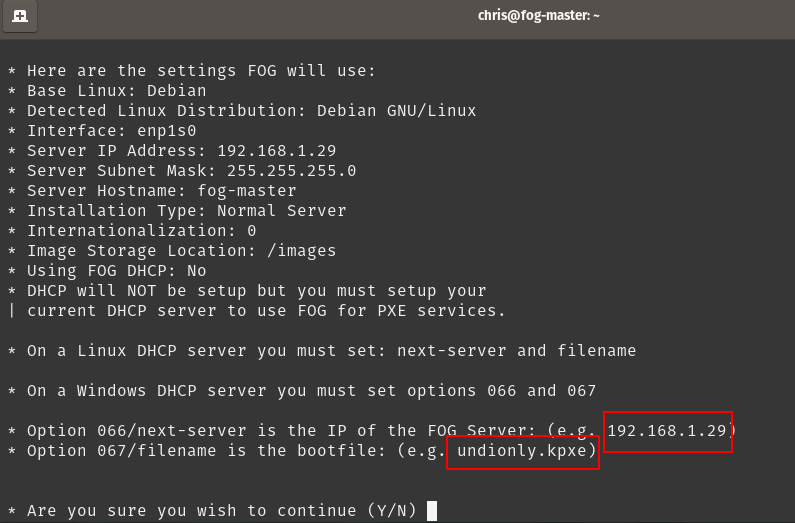
During the FOG setup, you will see a summary of your FOG-Master setup. It is important to note the FOG Server IP addressed you have assigned and the bootfile name as seen in the example below.
On my setup, the bootfile is name: udionly.kpxe and the IP address is 192.168.1.29
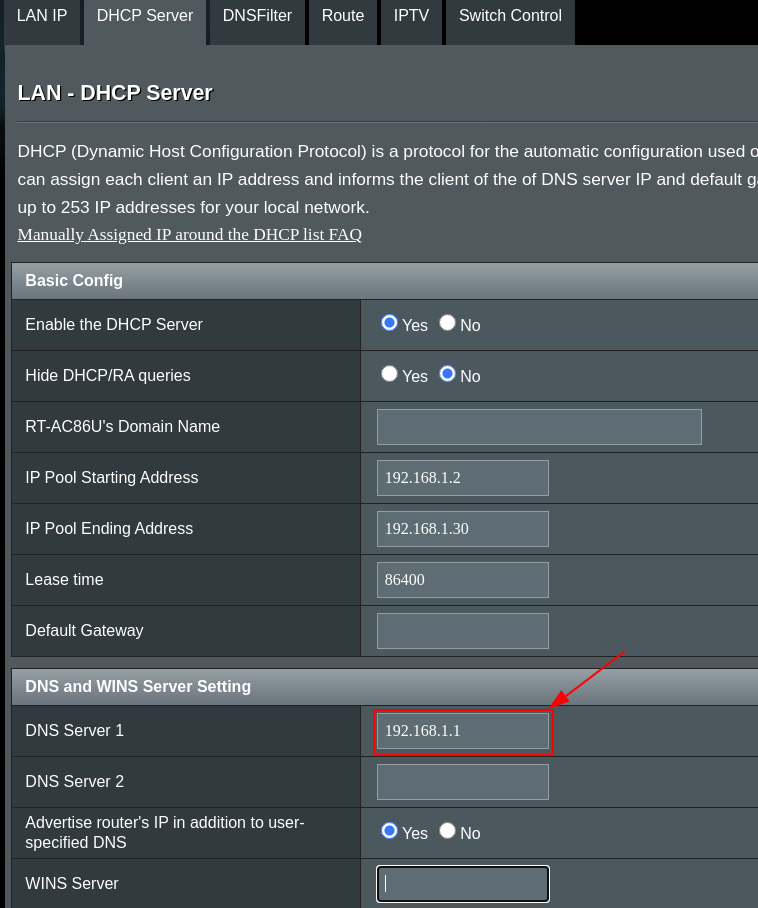
Now, you will need to sign into the Asus router to enable and configure DNSMASQ. Once signed into the Asus router, go to LAN / DHCP Server. Make sure that DNS Server 1 is set to the IP address of your Asus router (In my case it is 192.168.1.1).
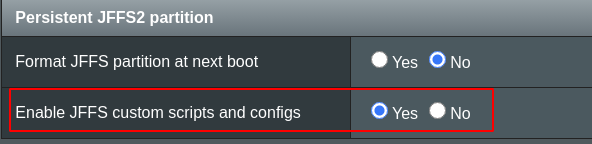
Now go into ADMINISTRATION / SYSTEM . Look for, “Enable JFFS custom scripts and configs“. Enable this option.
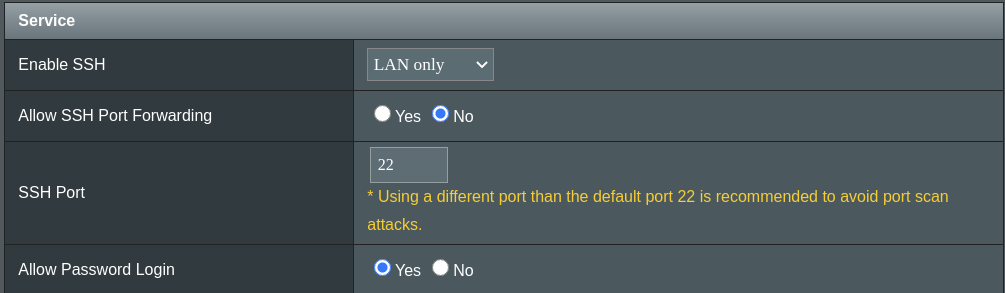
You will need to enable SSH on the router so that you can configure DNSMASQ. These settings are on the same page as the JFFS setting.
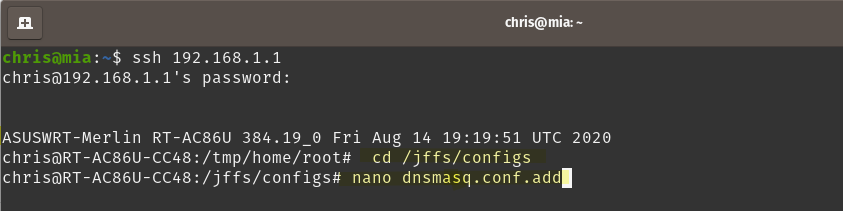
Now SSH into your Asus router. go to the /jffs/configs directory. I then run nano to create a file dnsmasq.conf.add
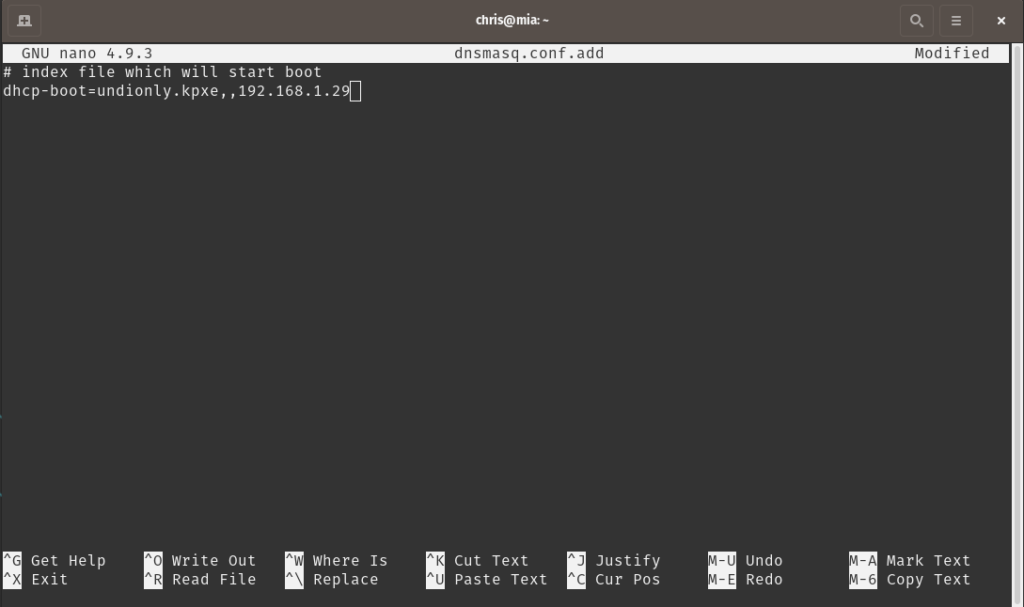
Enter the following line in the dnsmasq.conf.add. Be sure to use replace the IP address to your router and use the bootfile name you saw in the fog setup screen that I noted earlier. For my setup, I entered the line:
dhcp-boot=undionly.kpxe,,192.168.1.29
Save the file and exit nano. Now restart the DNSMasq service on the router using the command: service restart_dnsmasq.
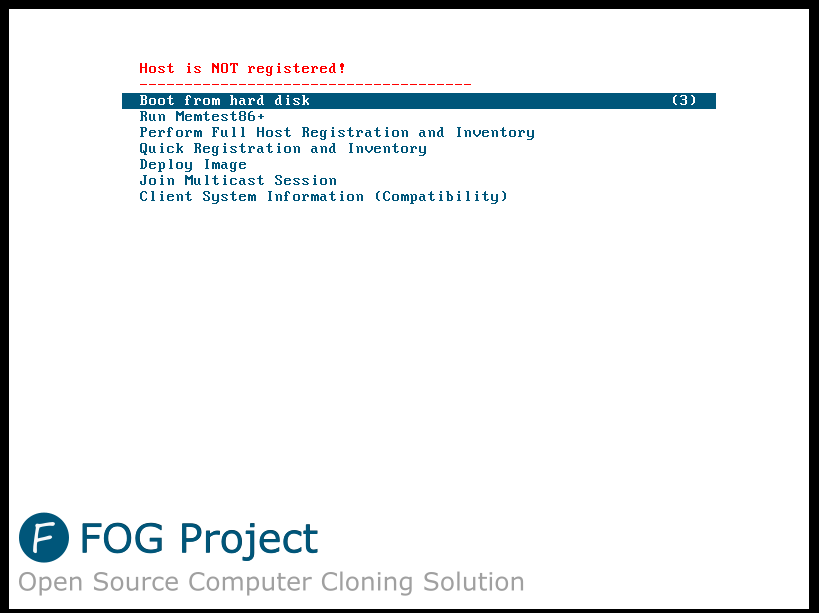
Now, I booted a PC and had it boot from the network adapter (PXE), and the FOG boot menu appeared. Everything is working!
Check out the other videos on the Practical IT with Jeremy Leik channel for further configuring and using FOG to create and restore FOG images.
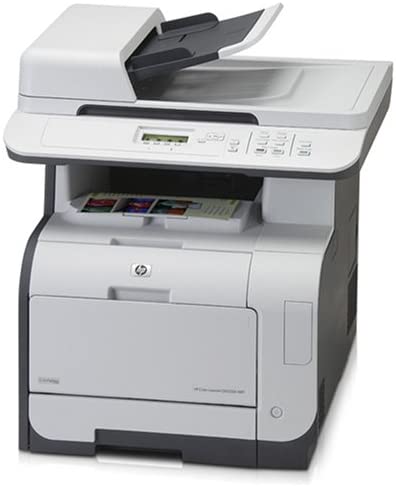
Usually when I need to install my HP color laser printer onto one of my desktops, I have to go the HP Linux Imaging and Printing website and download and install HPLIP. But downloading the files and making the installer work has been a royal pain for Pop OS. Luckily, the System 76 Pop OS website has an article HERE to show how easy it is to install using apt install.
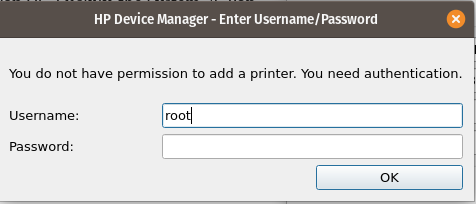
Piece of advice before running: set the password for user root if you have not done so already. The hp-setup tool will ask for a user and password of an account with root capabilities to install. In Ubuntu and Pop OS this is not set normally, and using my credentials would fail. So, run the command: sudo passwd root and set a password for root.
Setting password for root user.
Now, when you run hp-setup and are prompted for root user and password, the install can continue successfully after you enter root and the password you assigned.
I recently switched from Ubuntu 20.10 to Pop! OS. One of the challenges I had was configuring shared folders I want mapped on my Pop! OS machine. I copied the lines from my previous /etc/fstab file that mounted the shares previously.
Install Samba: sudo apt install samba.
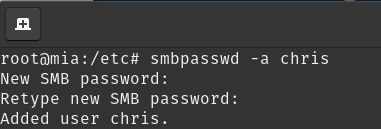
Set SMB pasword: smbpassword -a <Username>
But when I when I ran the command mount -a, I received the following error: bad option; for several filesystems (e.g. nfs, cifs) you might need a /sbin/mount. helper program.
After a few minutes, I figured it out, I needed to install cifs-utils: apt install cifs-utils
Now when I ran the mount -a command, no errors and the mapped shares now work.